The Supsystic image gallery is a very useful plugin for WordPress. The free version is packed with features and the pro version gives a huge amount of customizations. Once it is installed into your WordPress site, you will want to create a new gallery and upload images. The video below shows you step by step how to add new images to your gallery.
Adding Images Cheat sheet
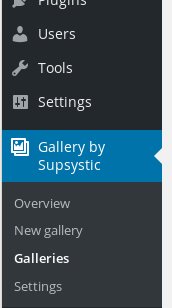
- In your menu go to the “Galleries by Supsystic” section and click on “Galleries

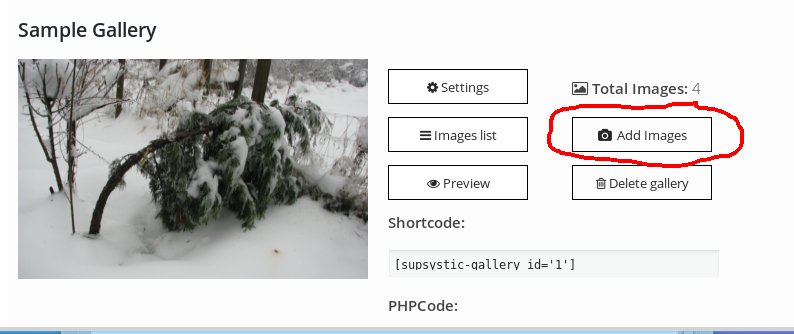
- Click on the ‘Add Images’ button in the gallery that you are adding to

- Click on “Import form WordPress Media Library”, click on upload files and choose your images for your gallery

- Add your caption and alt text and click on the Choose image button on the bottom right
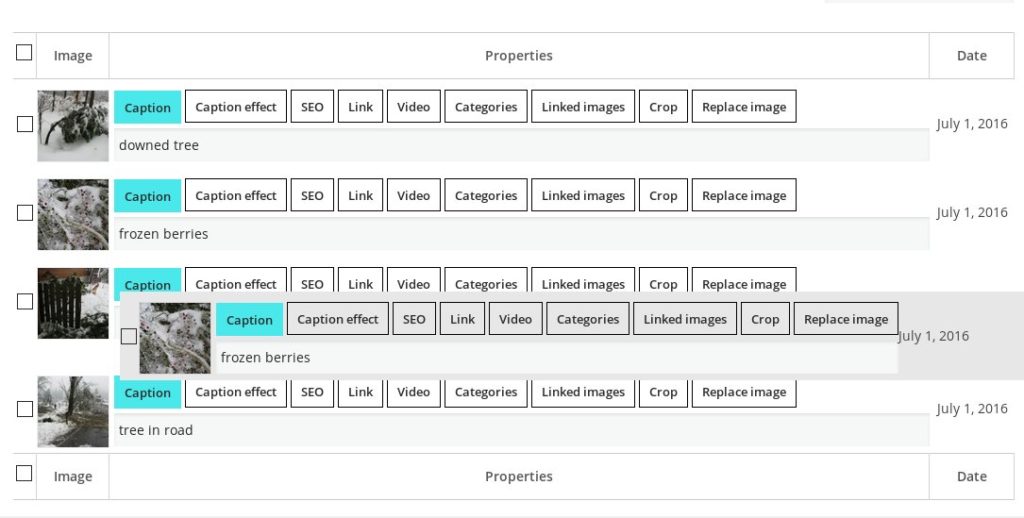
- When the list of images comes up, you can edit the caption and change the caption effect. You can also create a link from the image and change the order. You change the order by simply drag and drop

That’s it. If you have any questions, please post them in the comment section below.
Summary

Article Name
Adding images to Supsystic Galleries in Wordpress
DescriptionA tutorial on adding images to your Supsystic image gallery in WordPress
Author
Jason Earrame